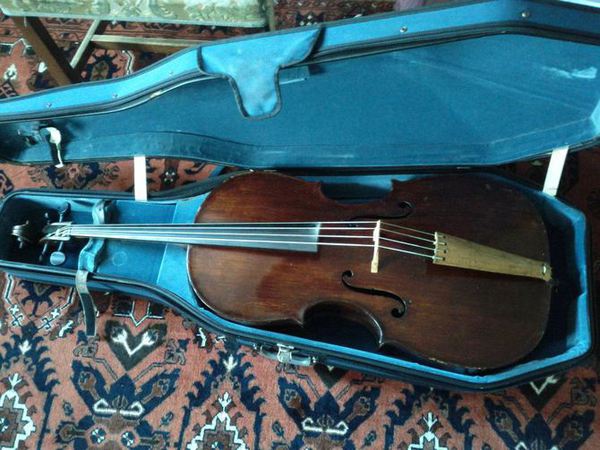
Christmas 2011 project: Restoring an old English cello back to its original baroque setup.
Day 1
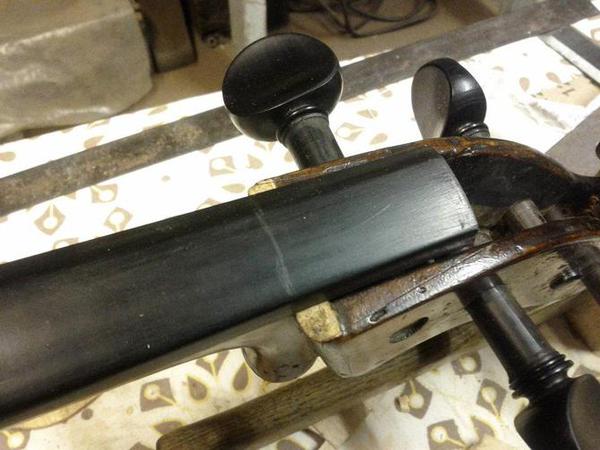
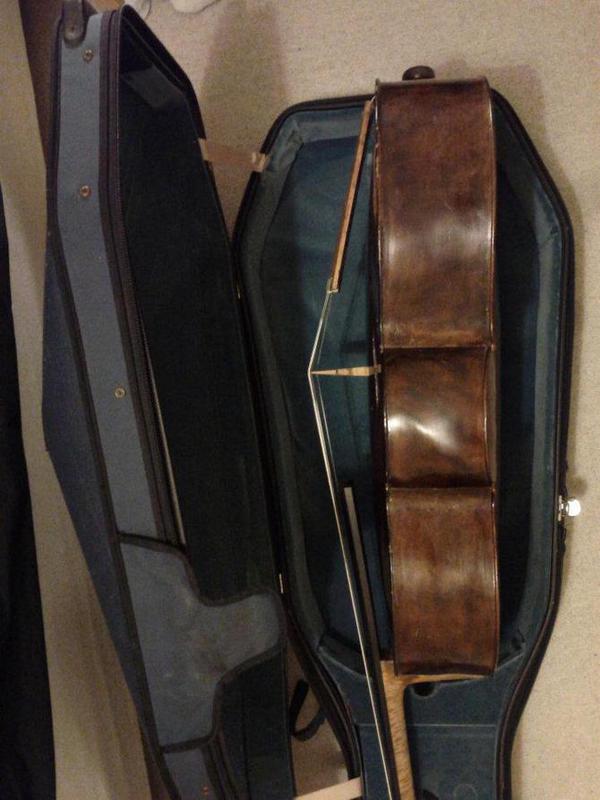
Showing current bridge height of 100mm (target is ~85mm).
Showing current bridge height and fingerboard length.
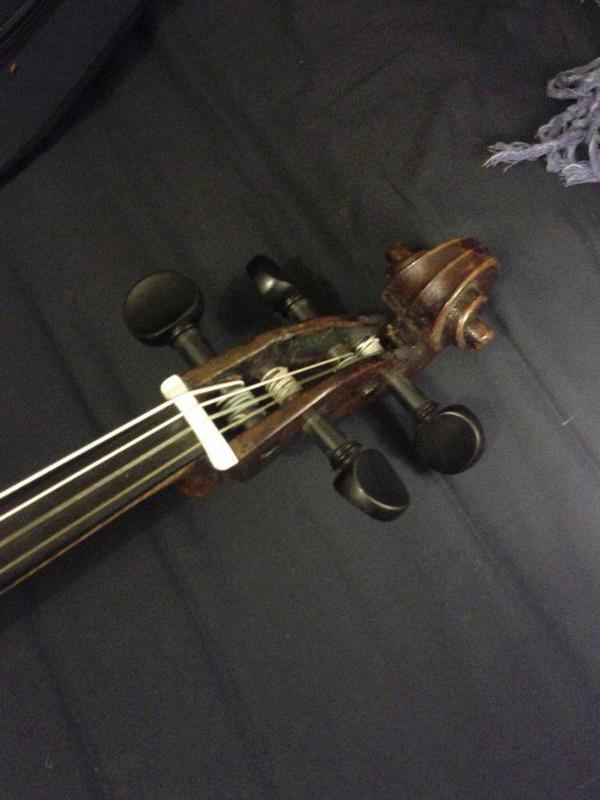
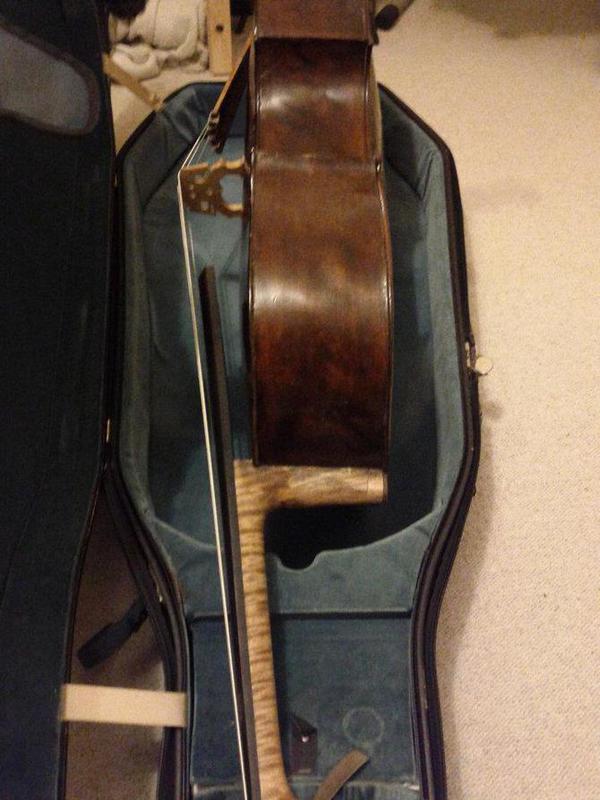
Showing current fingerboard length and boxwood tailpiece.
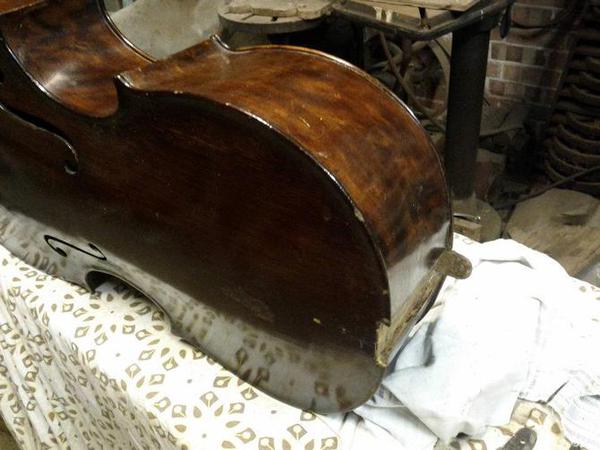
Showing current (excessive) bridge height.

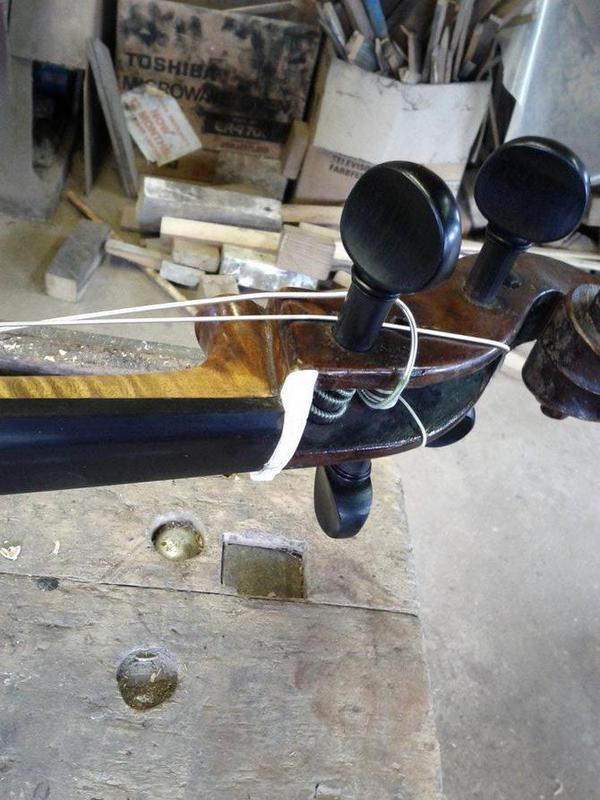
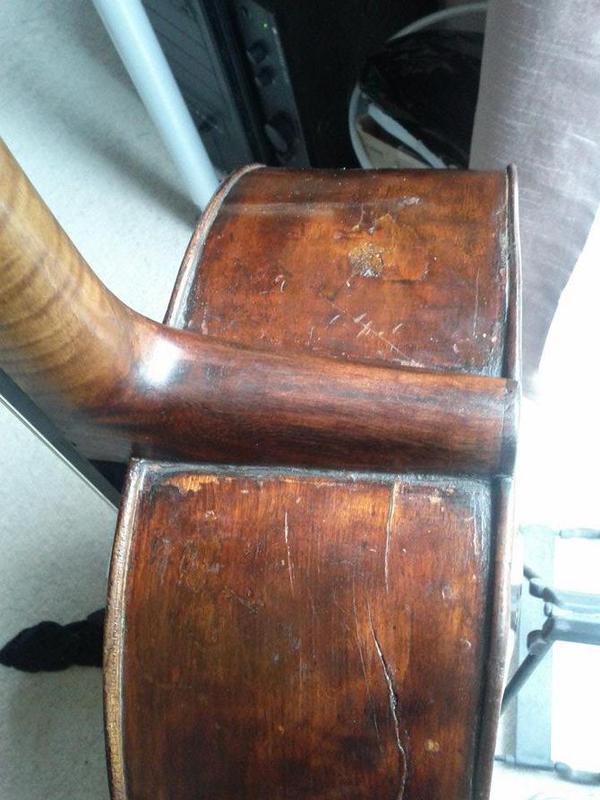
Showing current neck angle.
Strings, bridge, endpin and tailpiece off
Fingerboard and nut removed
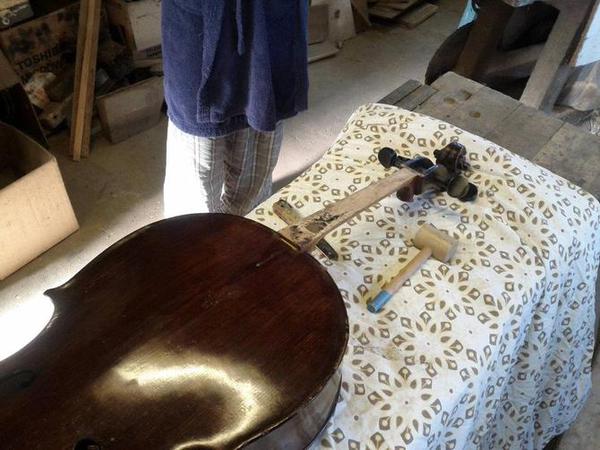
Neck removed
Neck removed
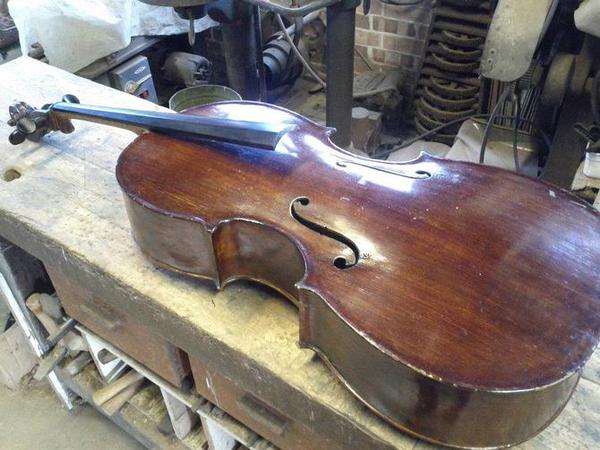
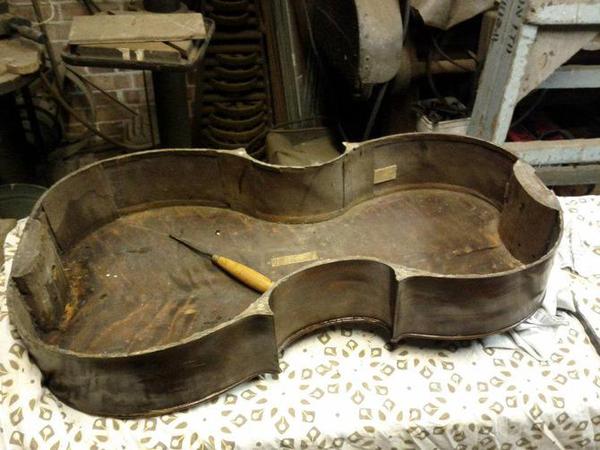
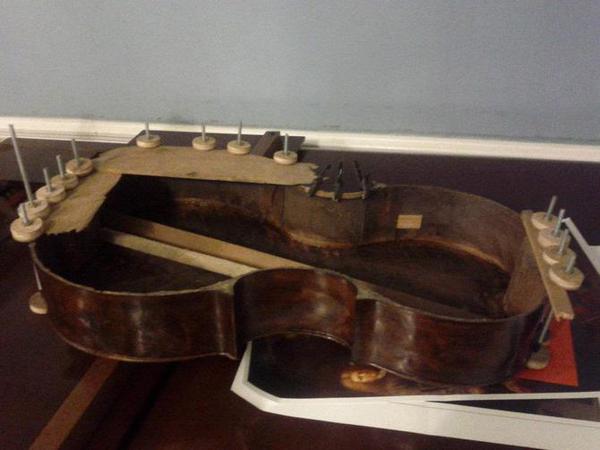
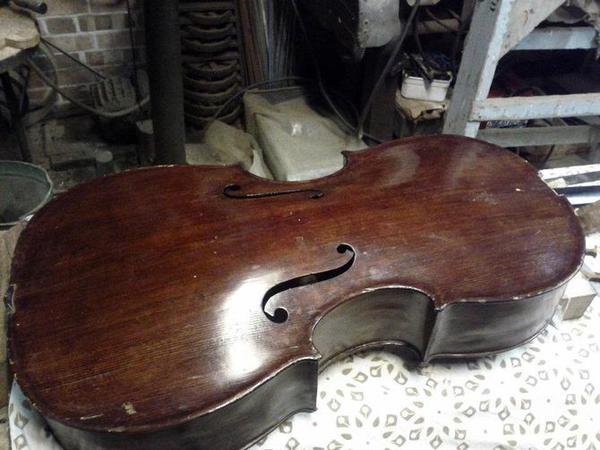
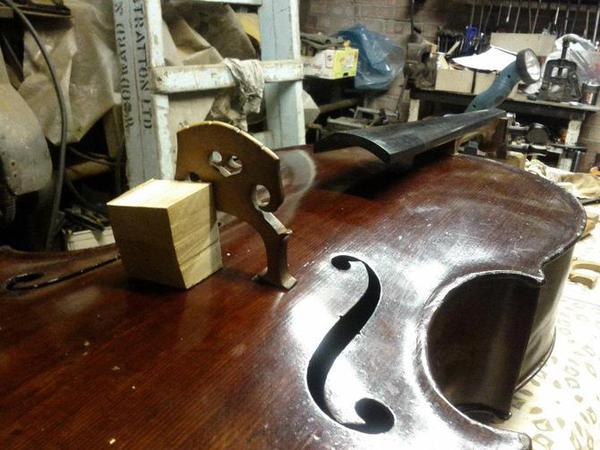
Front removed
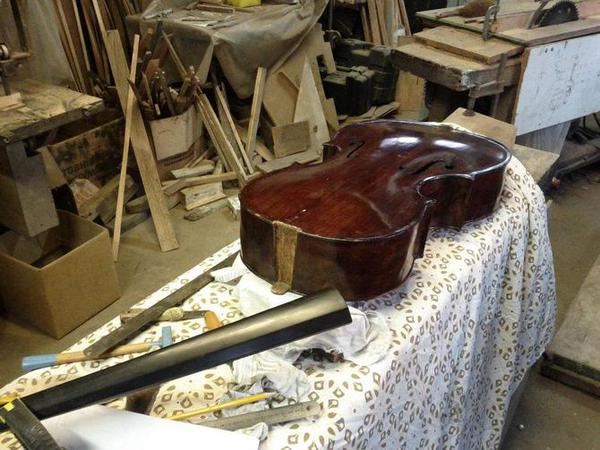
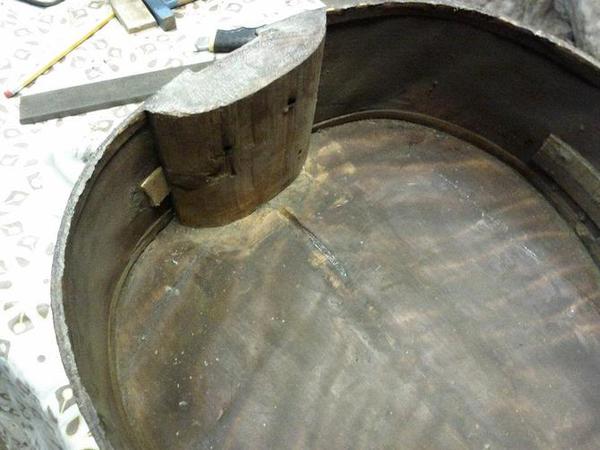
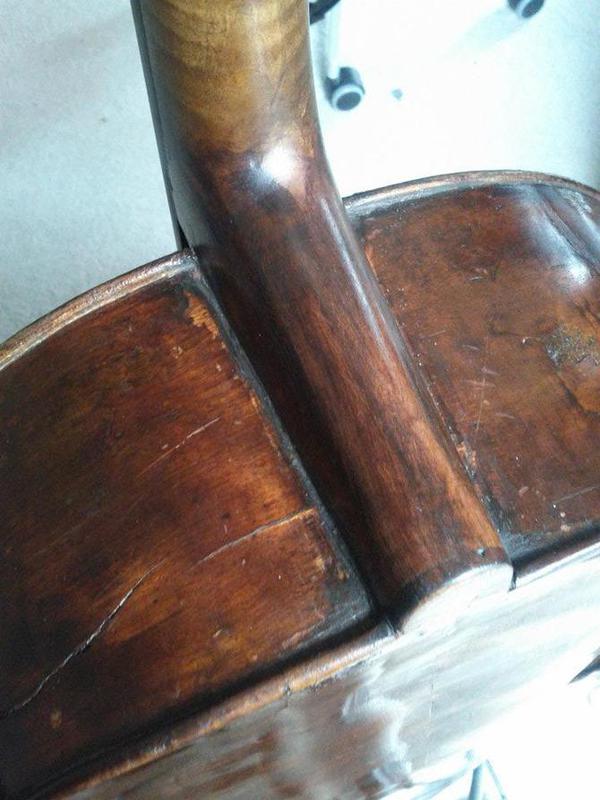
Neck block
Day 2
New strip of lining being glued onto ribs after steaming.
Ribs being re-glued to back and endpin block. This was always a bit unsatisfactory when glueing from the outside, but can do a proper job now the front is off. Strips on the left hand side are re-gluing a crack.

Neck block being re-glued to back and ribs. Had come away slightly.
Attaching lining next to endpin block back to ribs. Wood is being wedged against the neck block - not sure how to clamp this otherwise.

Letting the back and ribs dry overnight.
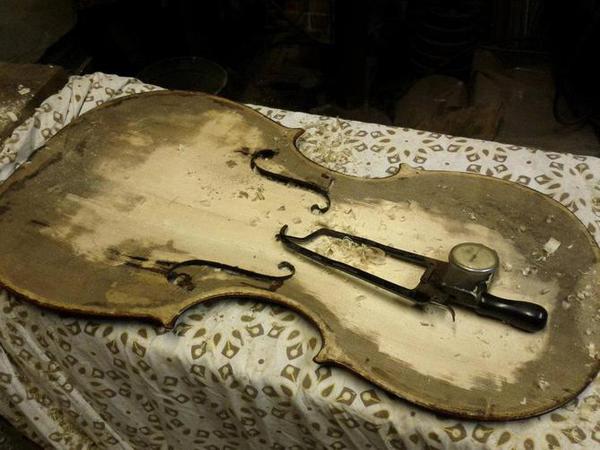
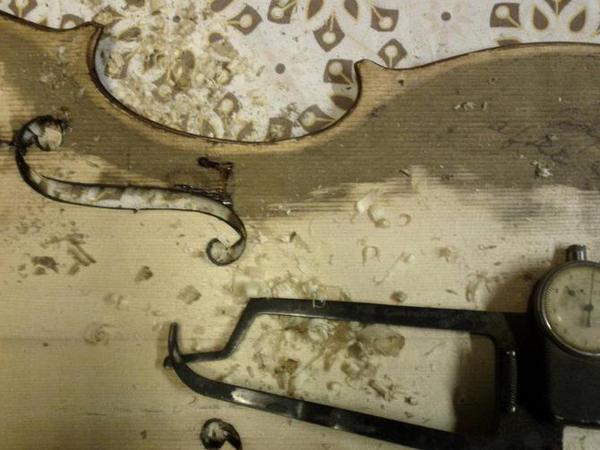
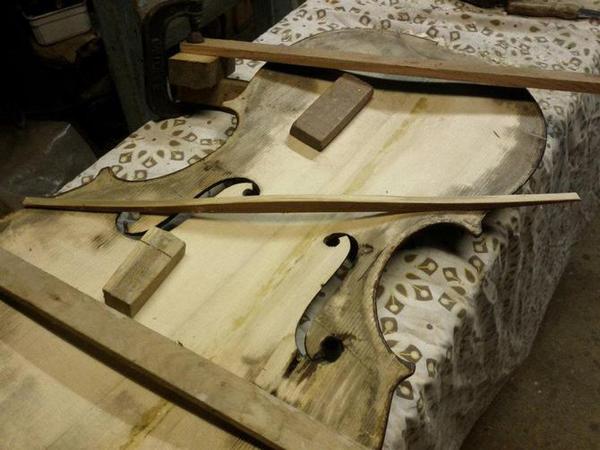
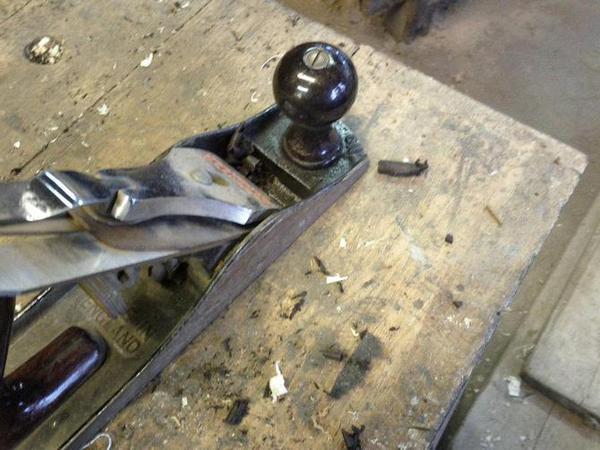
After removing the bass bar. Was attached with PVA glue (!) but no lasting damage was done.
Bass bar after removal. Height is 19mm.
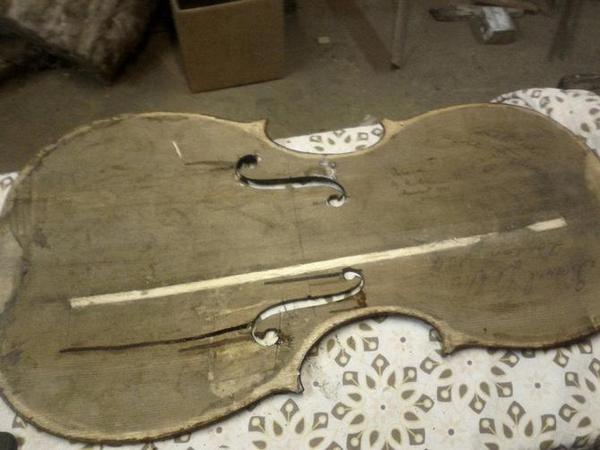
Almost finished thinning the front (by approx 2mm).
Day 3
Finishing off thinning the front.
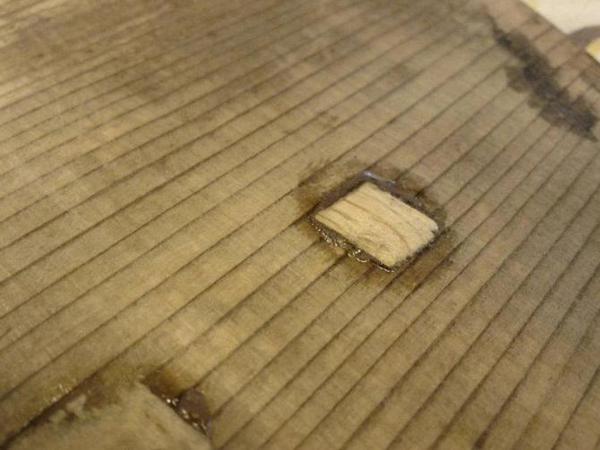
Gluing some studs (not visible) set at 90 degrees to the grain to prevent a crack widening.
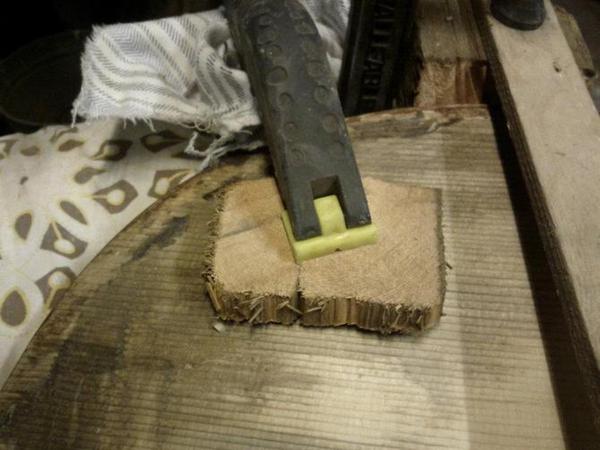
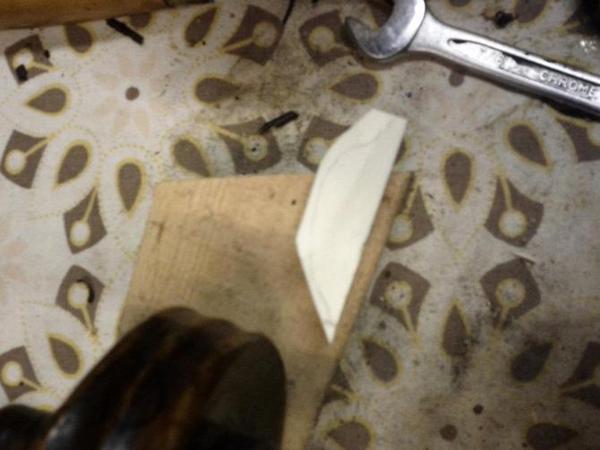
Measuring the existing nut to source some replacement material.
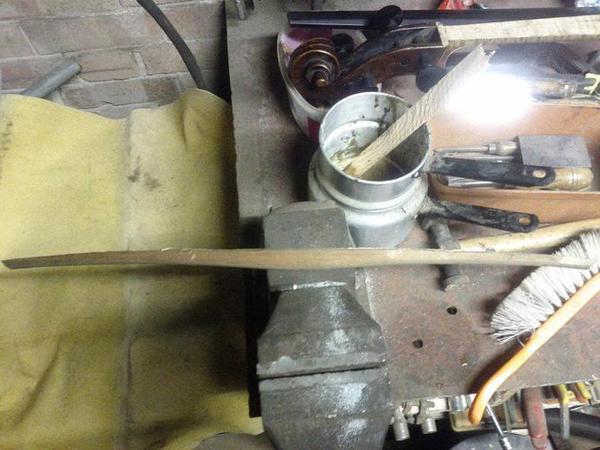
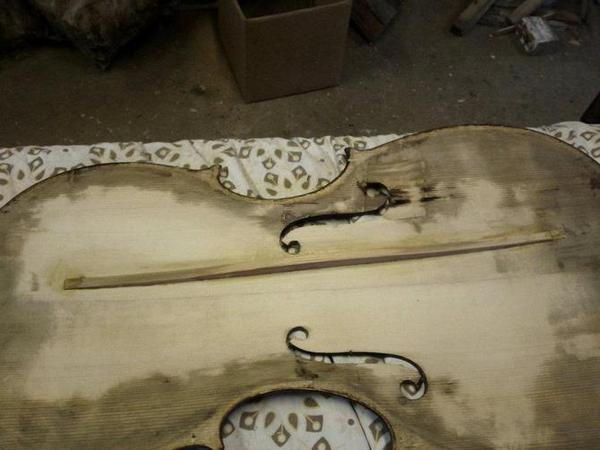
Finished thinning (19mm -> 14mm) and shortening (575mm -> 530mm) the bass bar.
Re-gluing bass bar. The previous bar was slightly sprung so that was just replicated; I have no opinion in that debate.
Re-gluing the bass bar (close-up)
Day 4
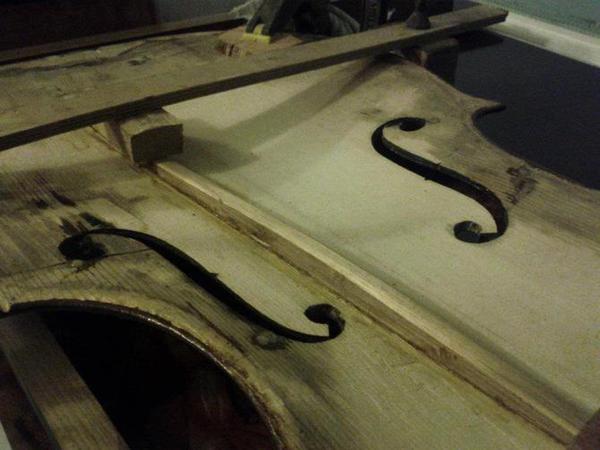
Tidying the belly
Paring down studs
Straightening fingerboard a little
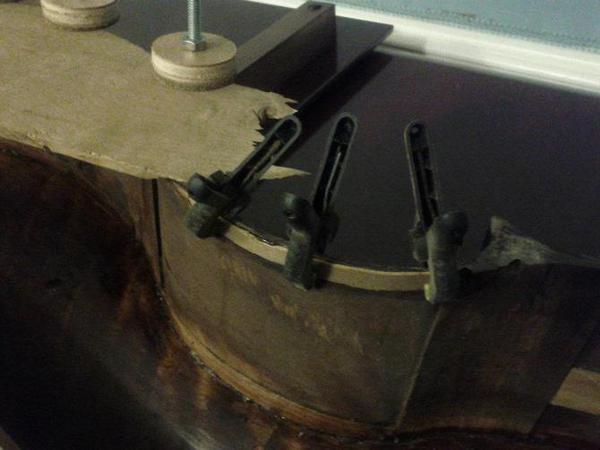
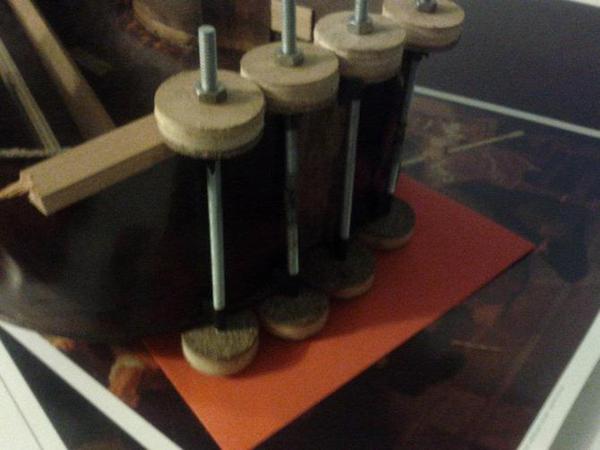
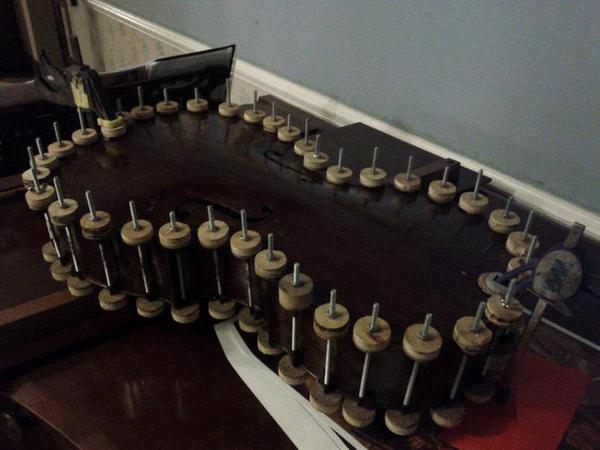
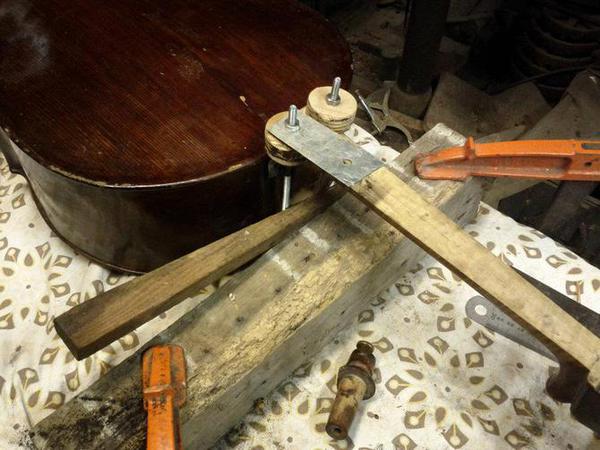
Making some more clamps to glue the front back.
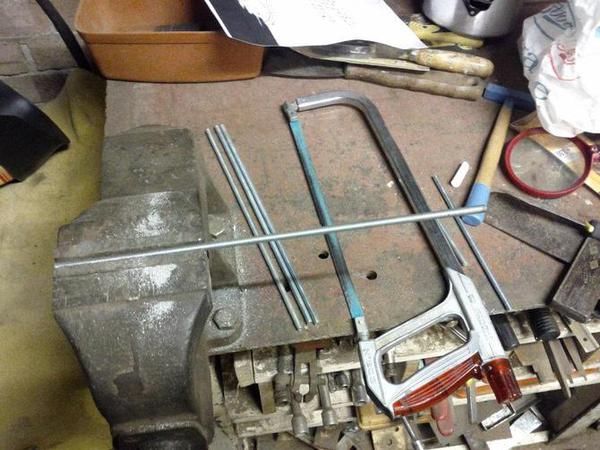
Making some more clamps to glue the front back.
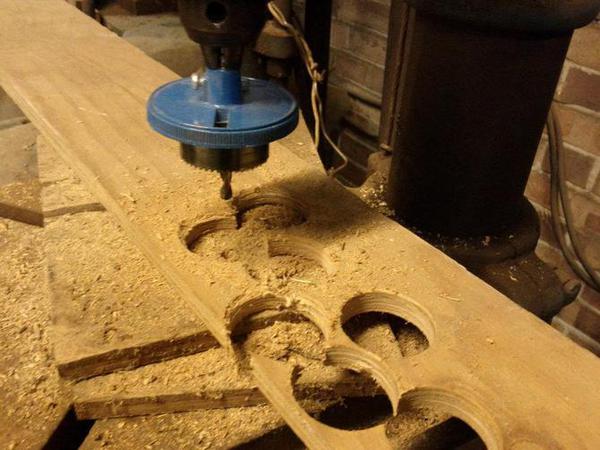
Making some more clamps to glue the front back.
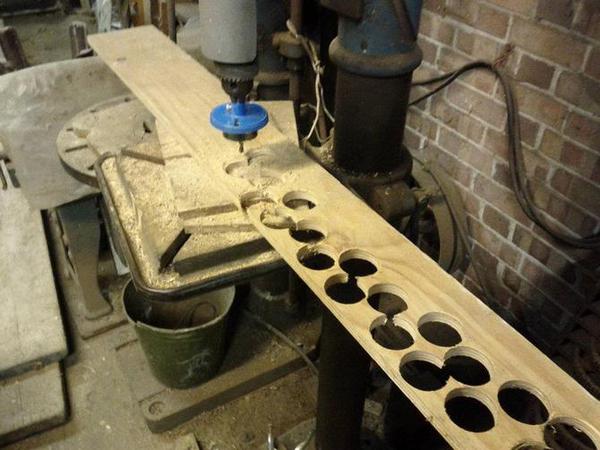
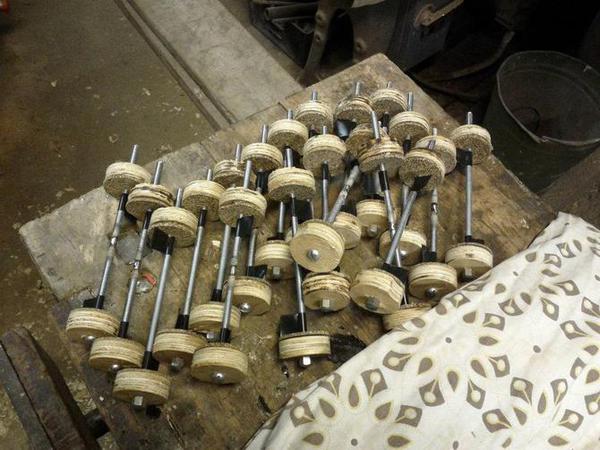
Some clamps in progress. Underneath the plywood is engine gasket material.

19 clamps finished; have 36 now.
Day 5
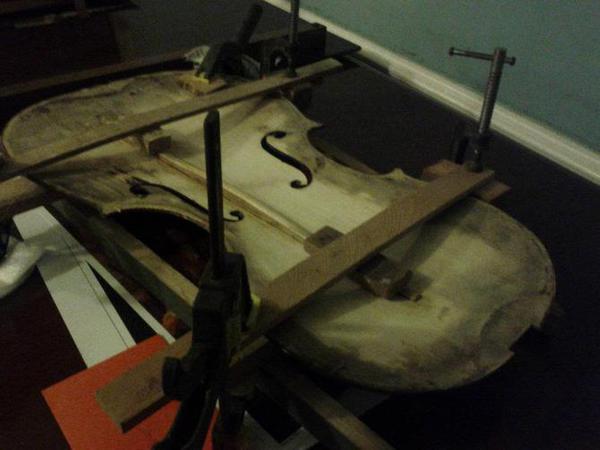
Taking the bass bar down to it's final height at each end. Also added another stud at the centre join underneath the tailpiece (not visible)

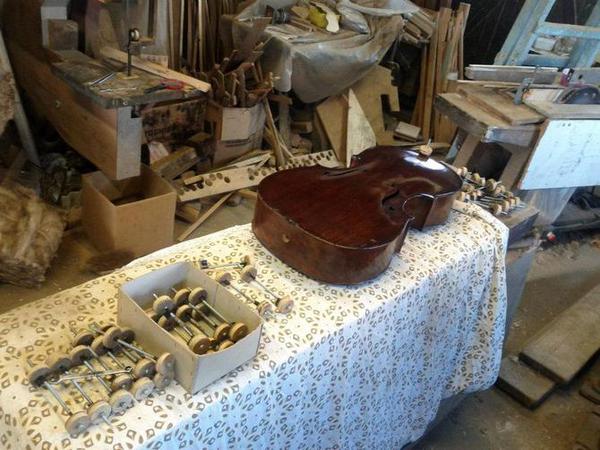
Getting ready to glue the front back on.
Letting the front dry
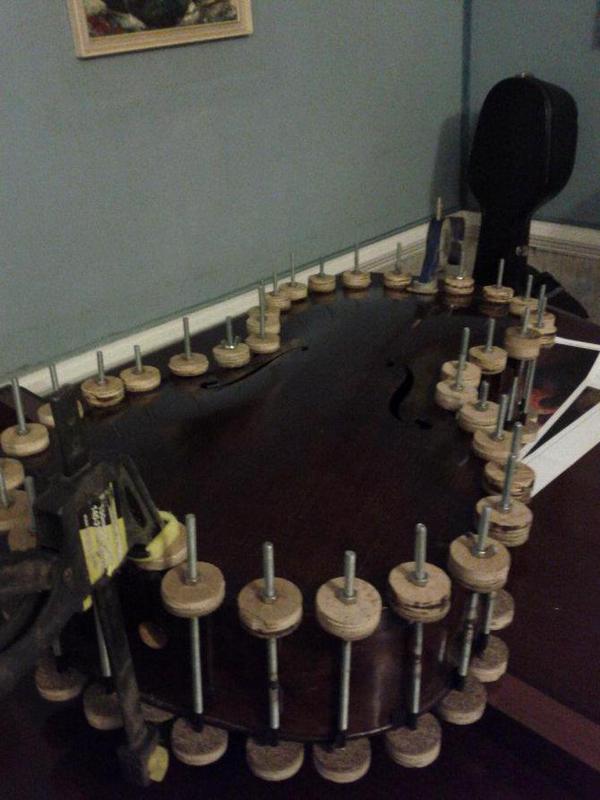
Letting the front dry
Adding an oversized bit of maple to the back of the shoulder as it will be sticking further out from the block.
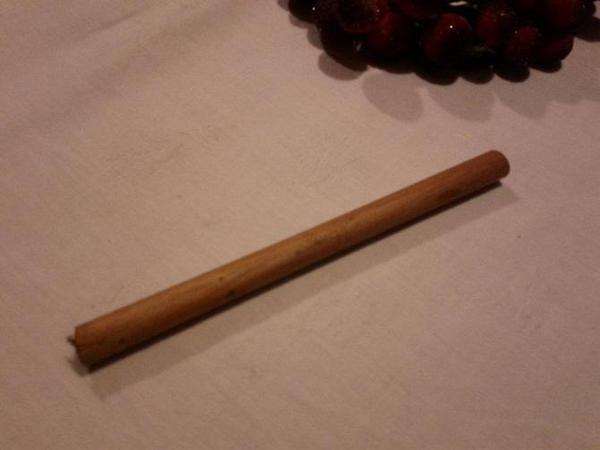
Bone to make new nut arrived today.

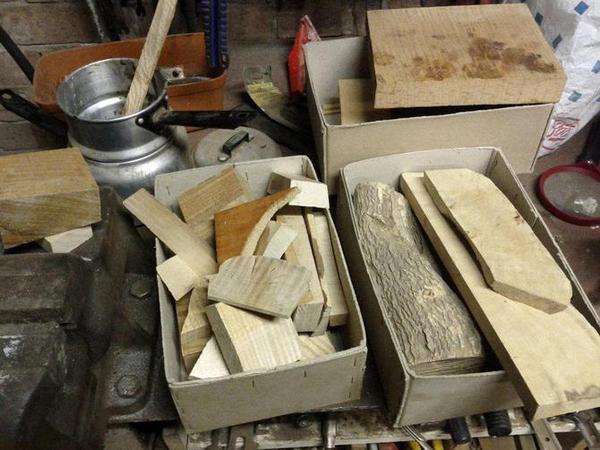
Glue is mixed in the double saucepan in the background, maple in left hand box, boxwood in right hand box.
Planning on making a rounded button out of this piece of mahogany if time.
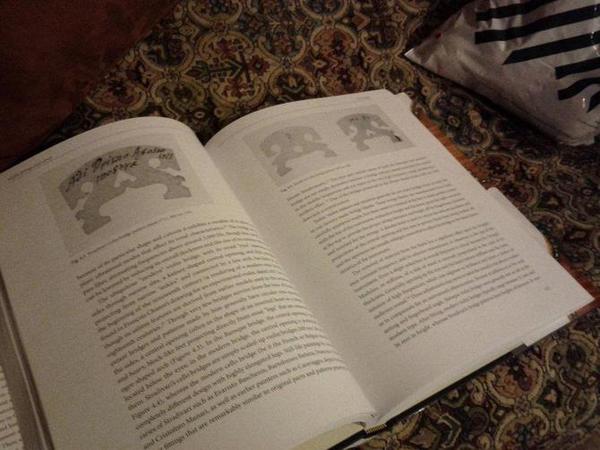
Looking at bridge designs.
Day 6
Checking the front is reattached properly.
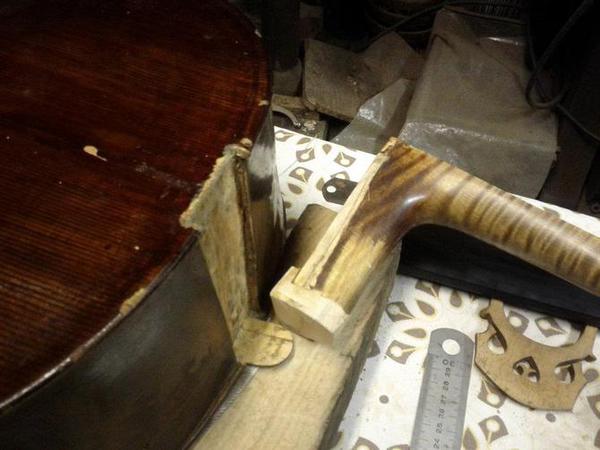
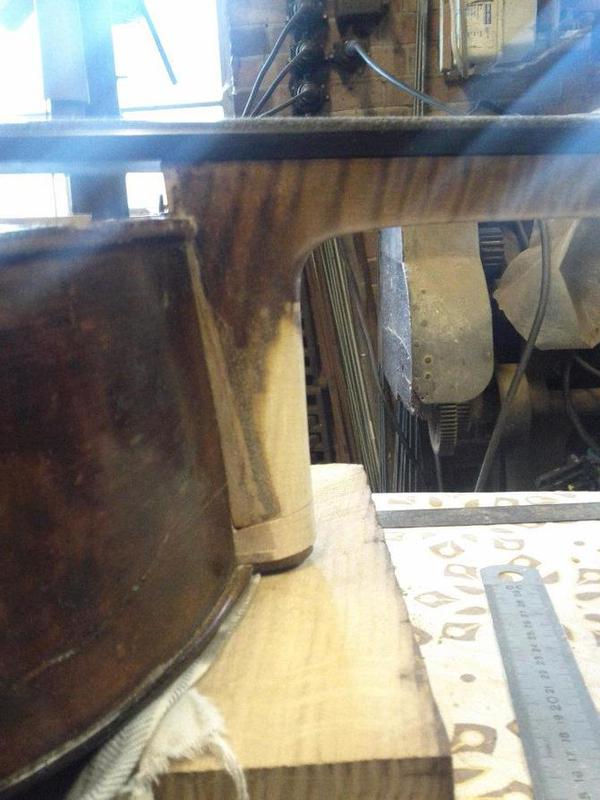
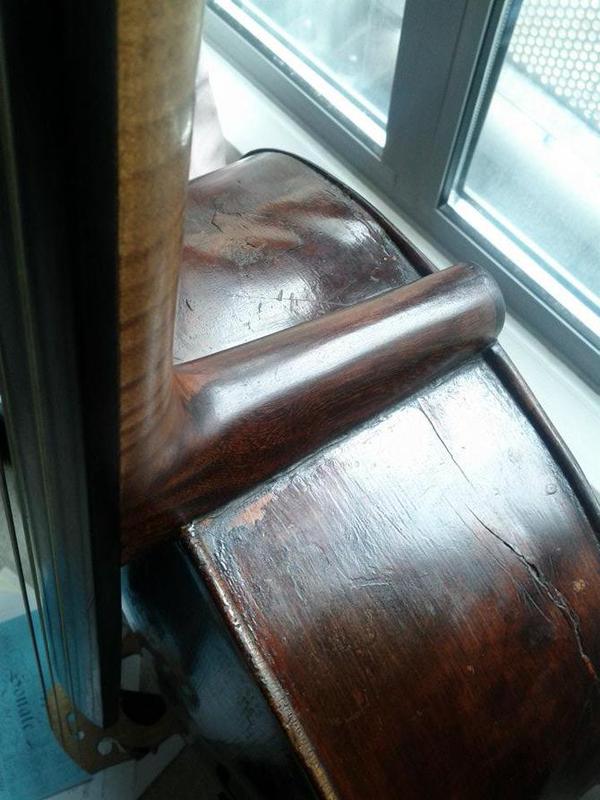
Adjusting the back <-> front location of the neck and the angle with this extra piece. There will be an additional wedge.
Making sure this fits perfectly
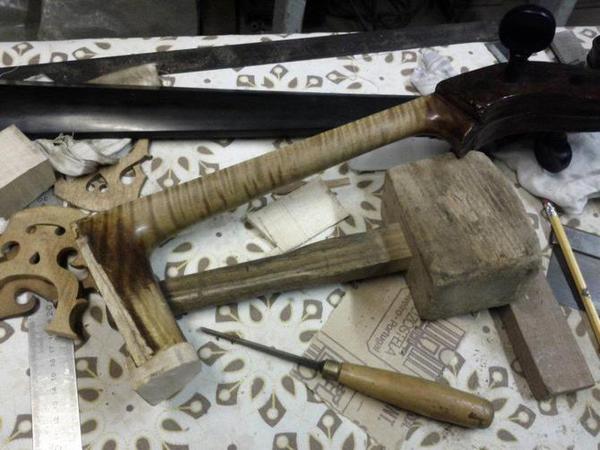
Working out how much to shorten the fingerboard. Cutting the non-obvious end to allow correction of the outside edges of the fingerboard - they currently curve inwards in making it even thinner.
Demo of possible projection (70mm at bridge). The (modern) bridge I'm using here is a little high but you get the idea.
Another angle.

Day 7
Glued wedge to neck.

Checking it aligns properly. (Final position is slightly different)
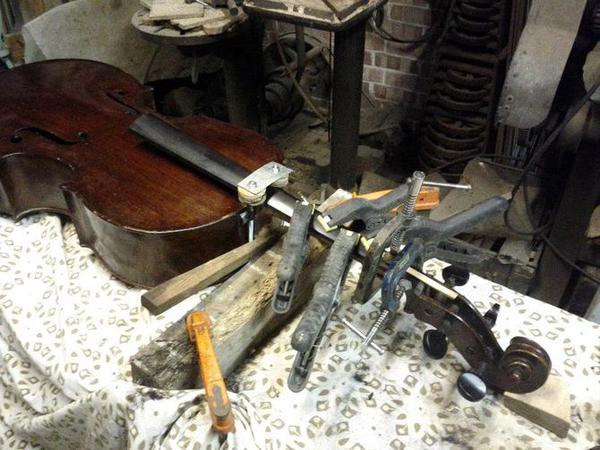
Gluing neck back into mortise.
Cutting fingerboard down.
Heating ebony prior to gluing.

Gluing fingerboard to neck. Surprisingly tricky.
Taken the obvious edges off the nut.
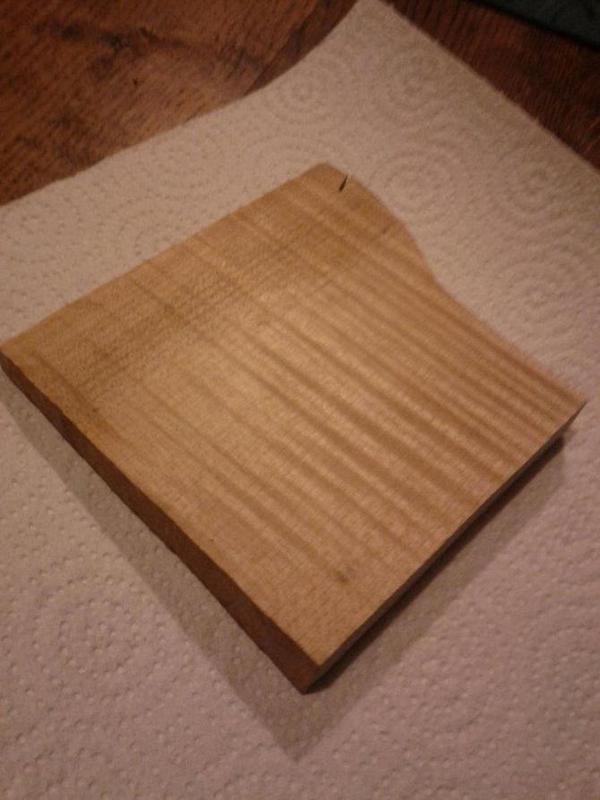
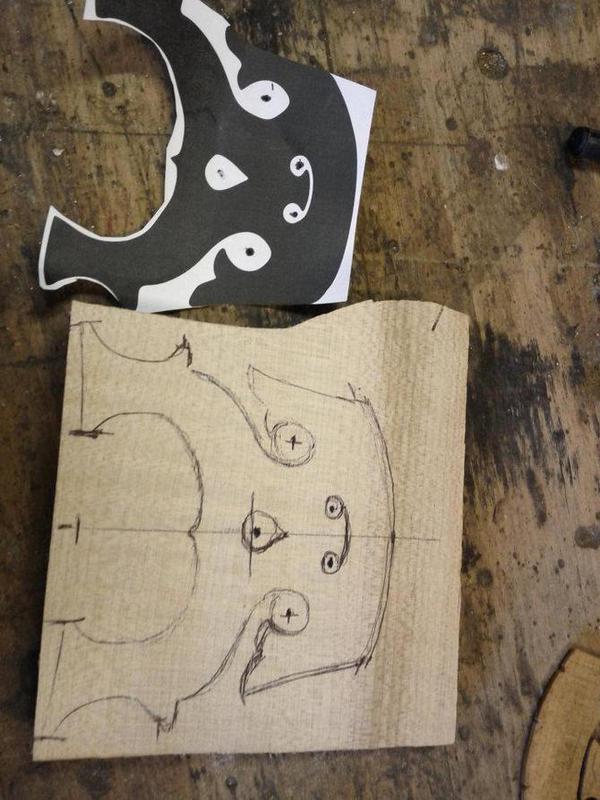
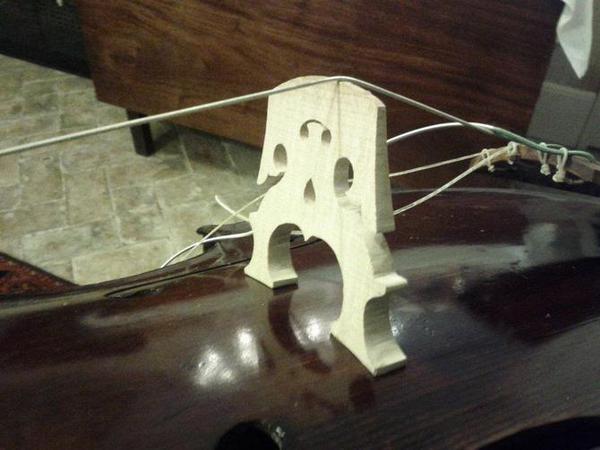
Maple for the bridge. Probably an offcut from making a viola back.
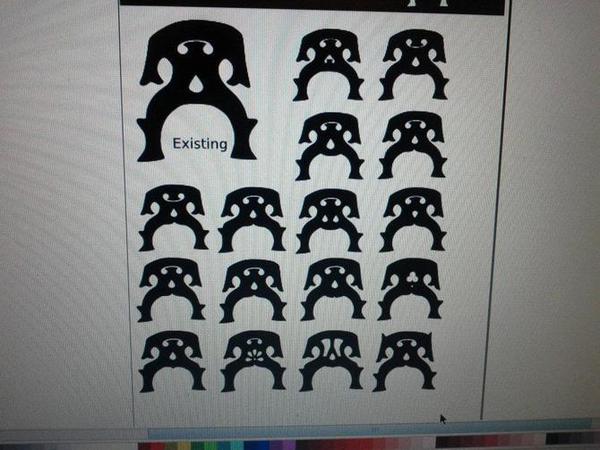
Messing about in Inkscape designing a bridge.
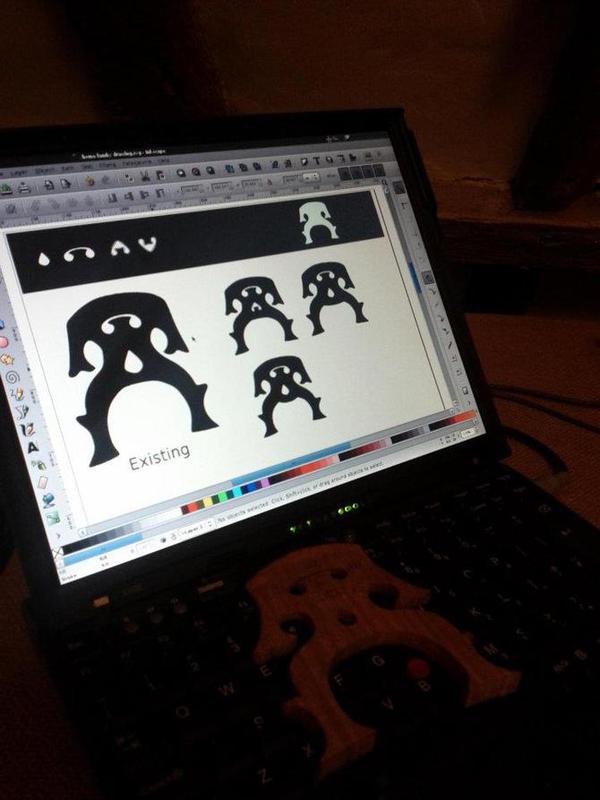
A few more bridge ideas.
Day 8
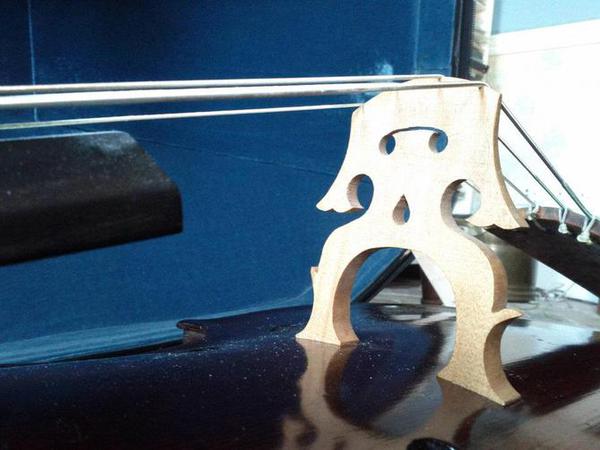
Making the bridge from design.
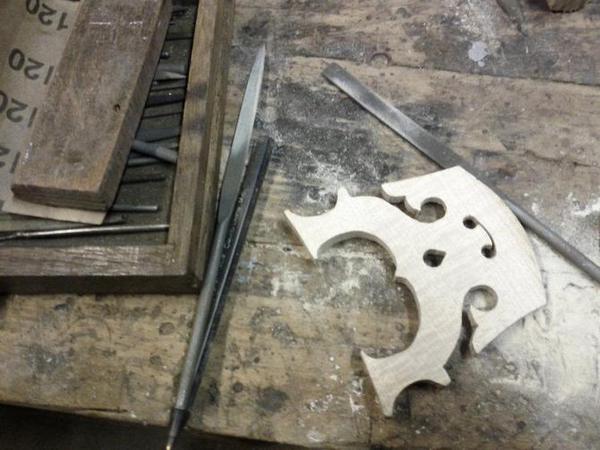
Finishing off the bridge with files, etc.
Neck and fingerboard drying

Day 9
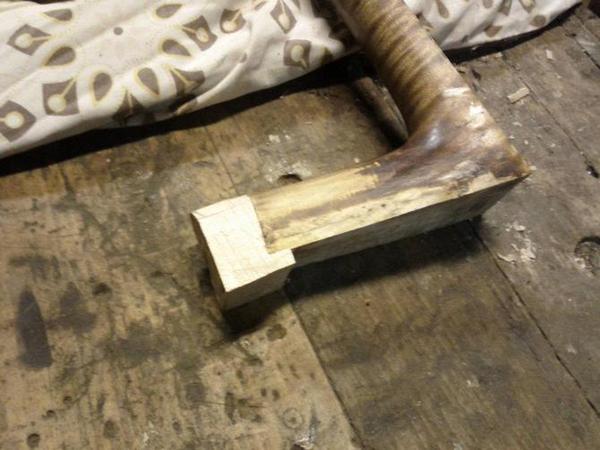
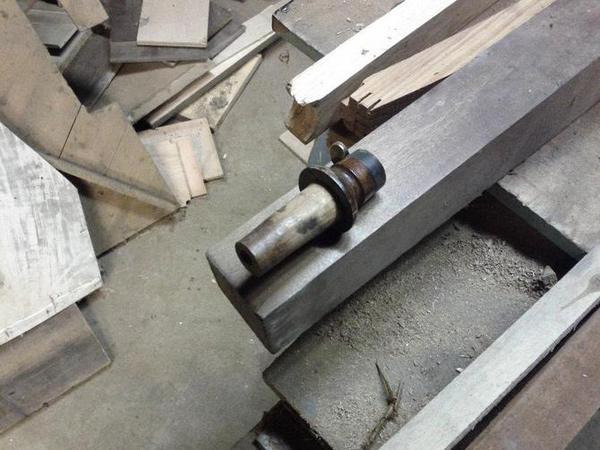
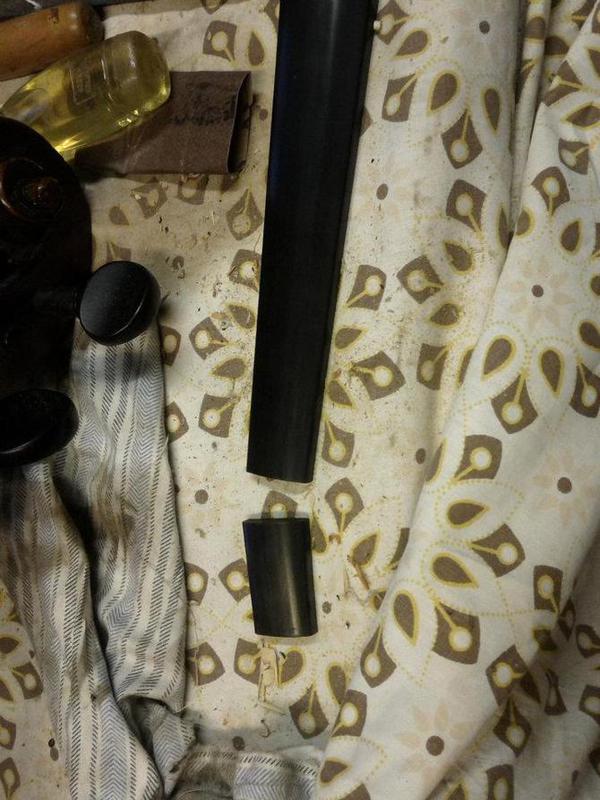
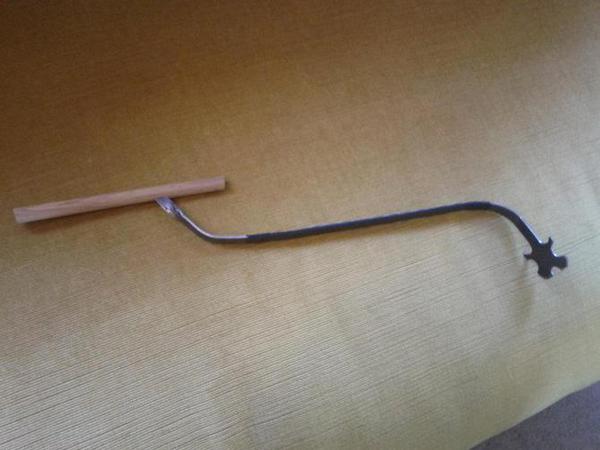
Failed attempt at making a baroque endpin in a lathe.
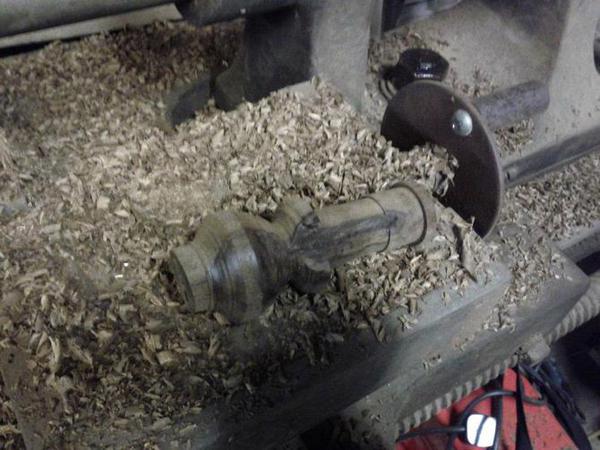
Failed attempt at making an endpin (top), the original spiked endpin.

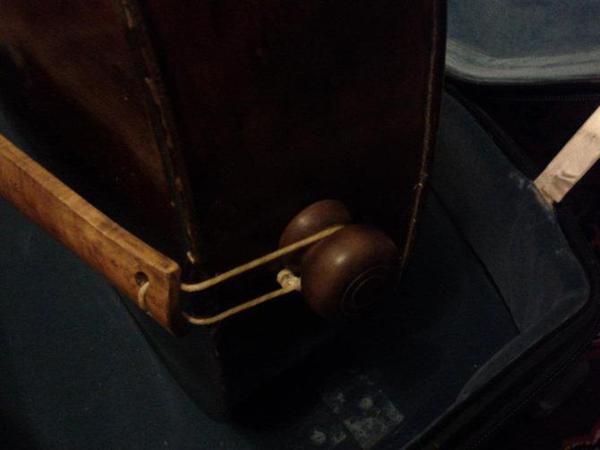
Fitting (WIP) baroque endpin to size.

Finished "baroque endpin".
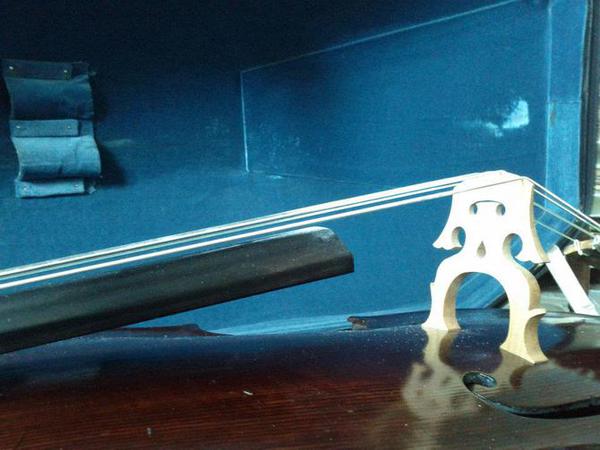
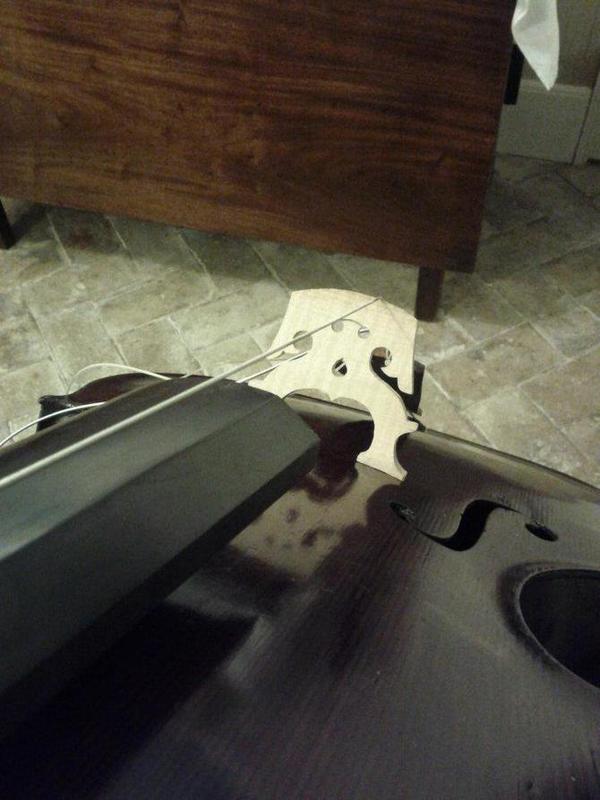
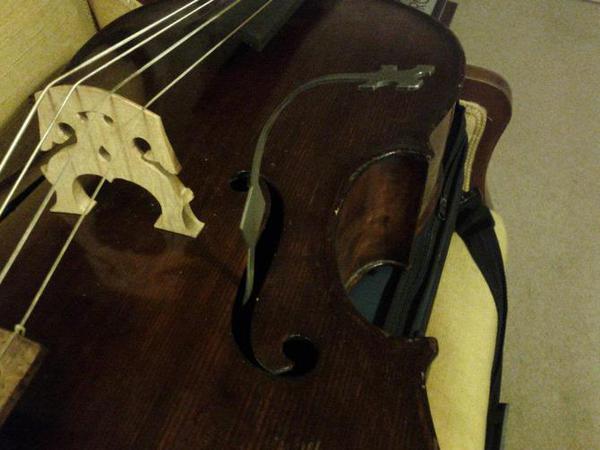
Roughly fitting the bridge. Only one string as no soundpost yet.
Roughly fitting the bridge. Only one string as no soundpost yet.
Day 10
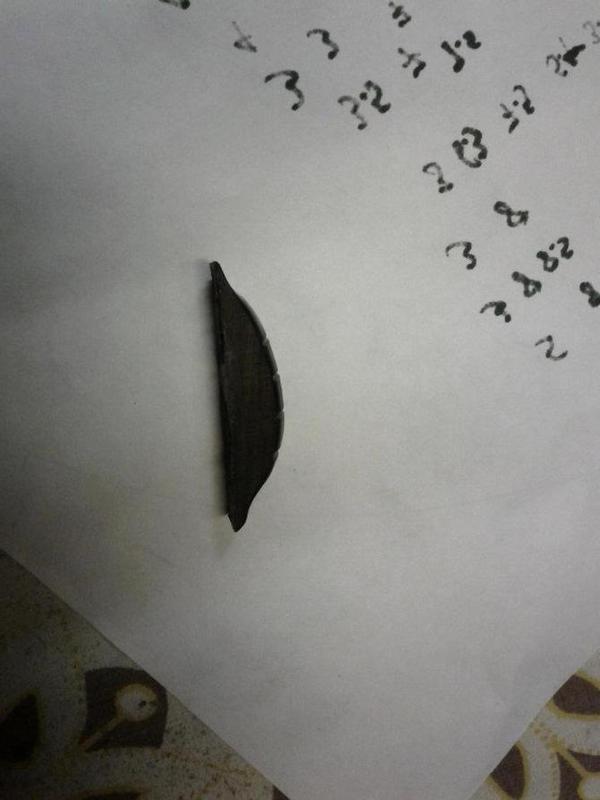
Bone nut. The smell when you grind this stuff is foul.
Soundpost
Fitting soundpost.
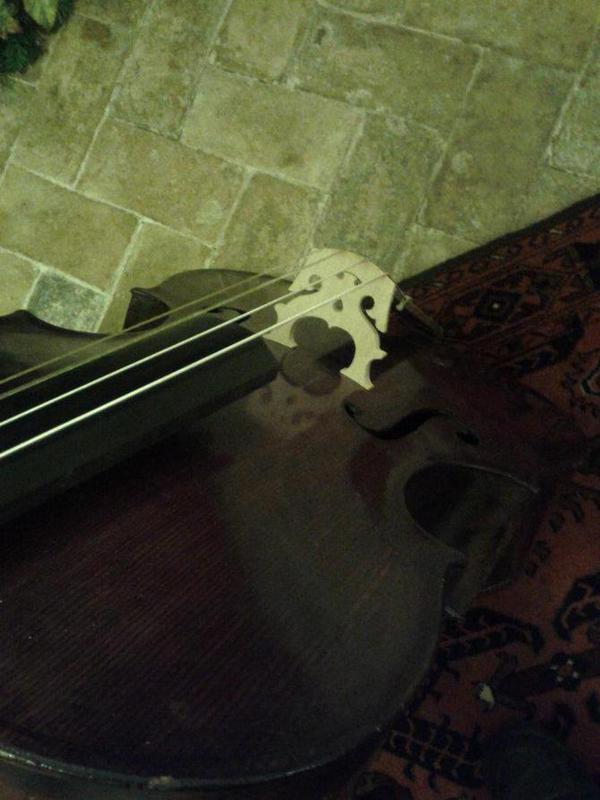
Strings up to tension. Checking and adjusting string heights.
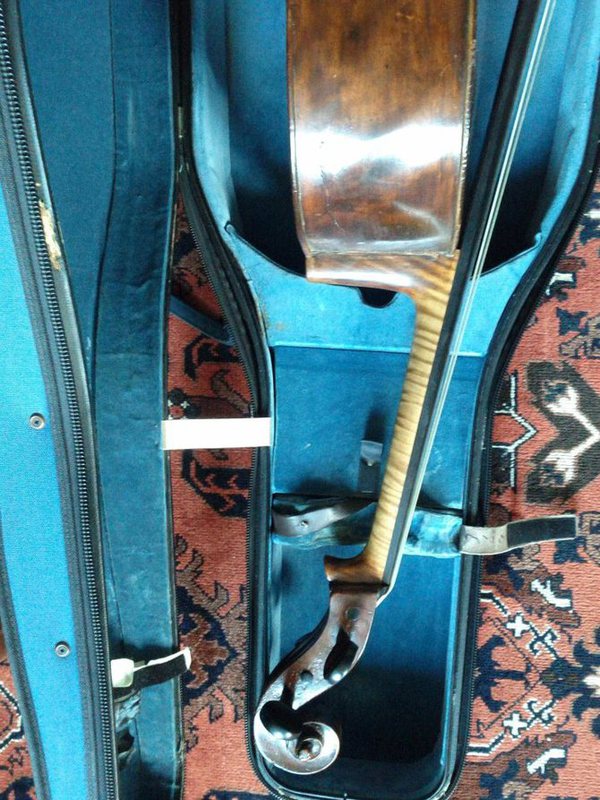
Cello back in London.
Cello back in London. Shoulder is not completely finished but will do until I get more time.
Day 10
Tidying edges of nut
New soundpost adjuster made, fiddling with location.
Day 12
After tidying shoulder
After tidying shoulder
After tidying shoulder
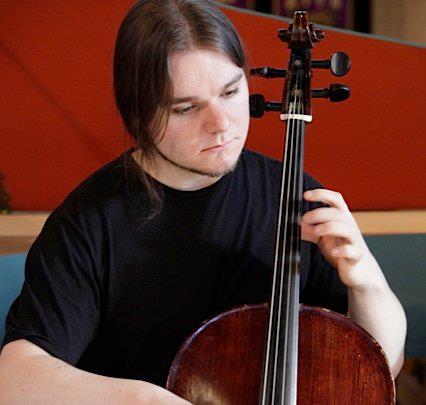
In action